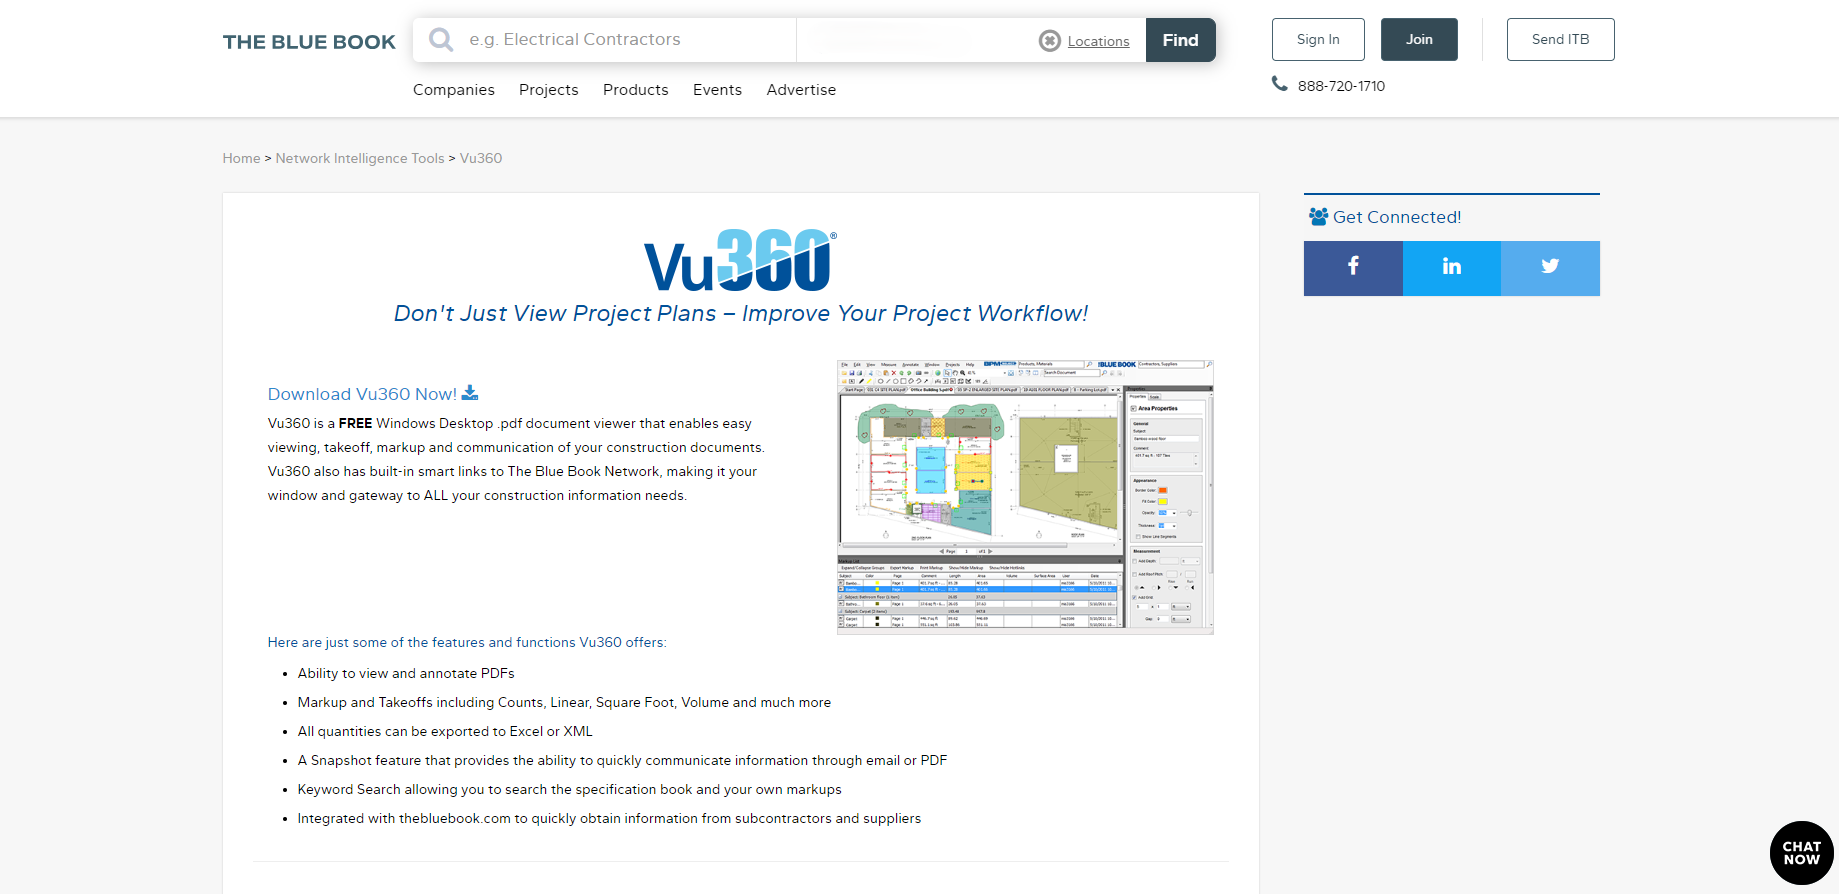
Vu360 is an old windows program for construction companies and builders for performing “takeoffs”. This basically means drawing around the dimensions on a pdf file with takeoff software that allows you to set a scale on the pdf file. Takeoff software provides many obvious advantages to measuring physical paper blueprints and manually entering values into a spreadsheet.
However, takeoff software that is cheap or even free is somewhat of a rarity today, which is why the construction industry is looking to Vu360 as a viable alternative to the other paid services available.
Vu360 System Requirements
Installing Vu360 on Windows 11 requires a few extra steps since the program is primarily designed for older versions of Windows. Vu360 is a lightweight Windows-only application with a recommended operating system of Windows 7 Home, though it can still run on Windows 10 and 11 with some adjustments. To ensure smooth performance, your system should have at least 512 MB of RAM, and while Vu360 itself takes up very little space, it’s recommended that your PC have at least 64 GB of available storage. As of now, I haven’t found a version of Vu360 that runs on macOS. This guide will walk you through the process of installing and configuring Vu360 to run properly on Windows 11.
Download and Install Vu360 on Windows
Here is a detailed tutorial on how to install Vu360 on a modern operating system like Windows 11. I believe Vu360 works on Windows 7 but not Windows 8, Windows 10, or Windows 11. At least not with a bit of work. In my experience, on Windows 11 you can use Windows Compatibility Mode, or Windows will download the required .dll files and .net versions for you. I’ve installed Vu360 on two Windows 11 machines and one needed Windows Compatibility Mode and one didn’t. I’m not sure why.
First, navigate to the Vu360 website here.
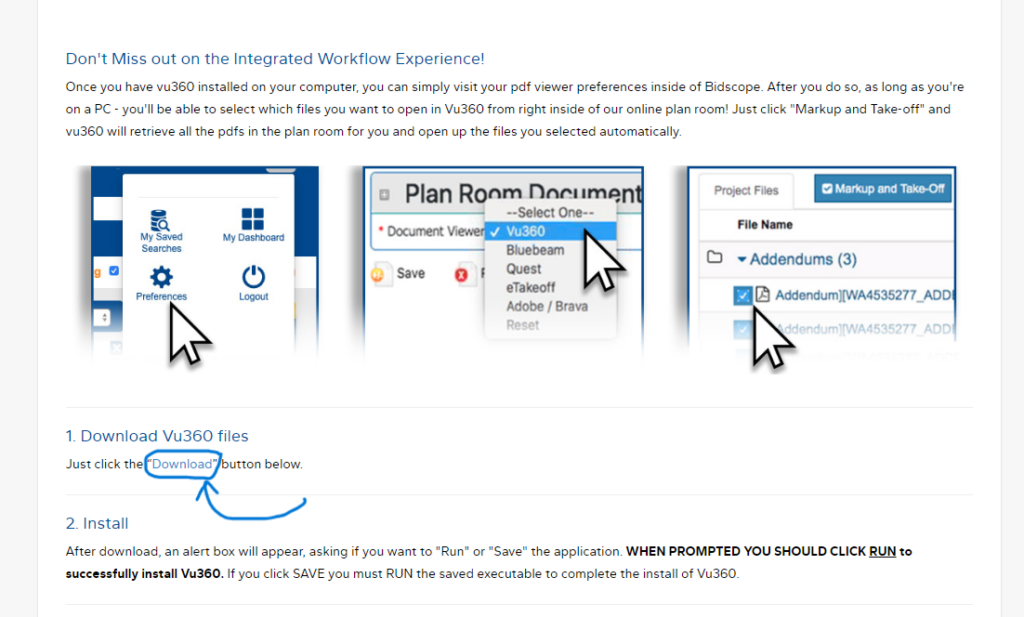
Then click on the “Download” button as shown.
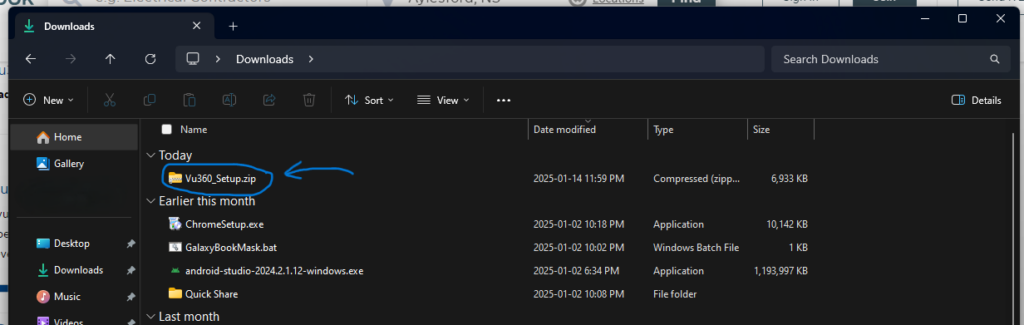
This will download a zip file containing the Vu360 program.
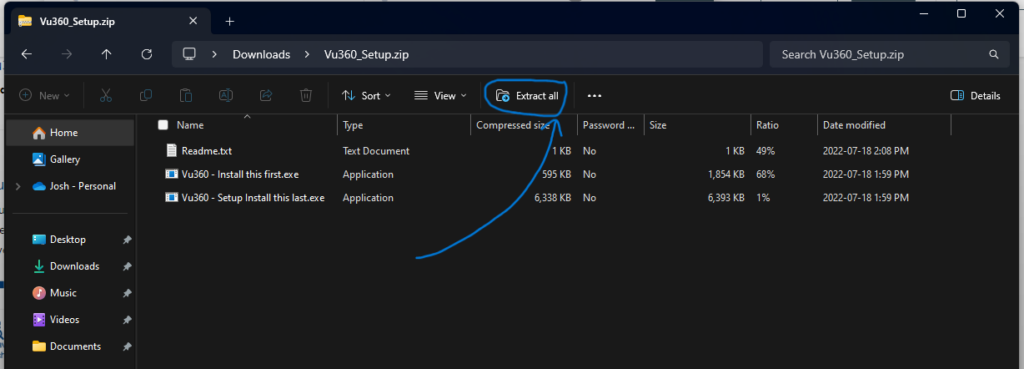
Next click the Extract All button to extract the zip file.
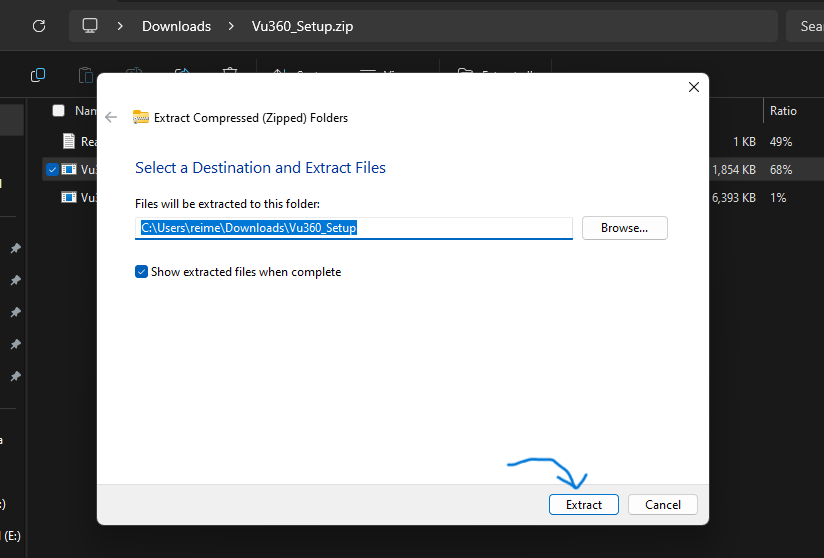
Click the Extract button.
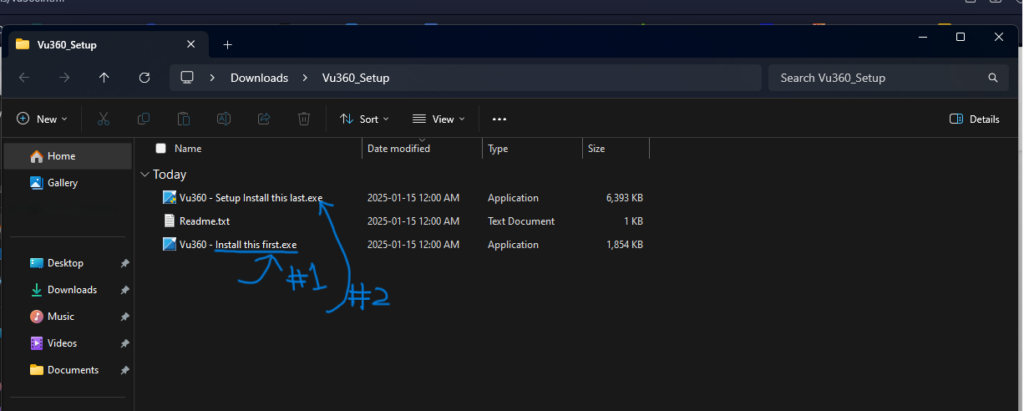
Once the extraction has finished and a new explorer window has opened, you need to double click on the .exe file that says “Install this first”.
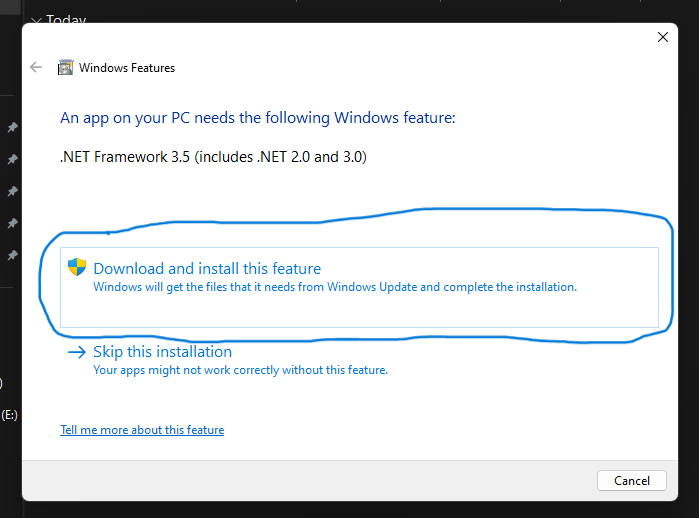
Depending on your particular Windows installation, your computer might prompt you to download .NET framework 3.5. Go ahead and click the “Download and install this feature” button.
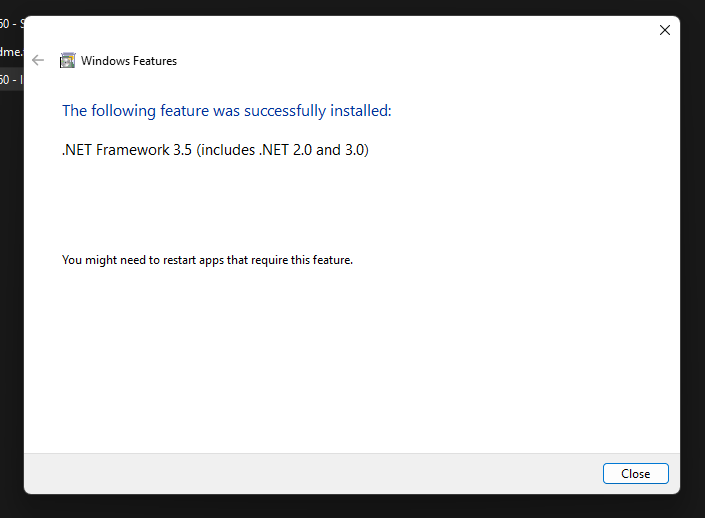
Then click “close”
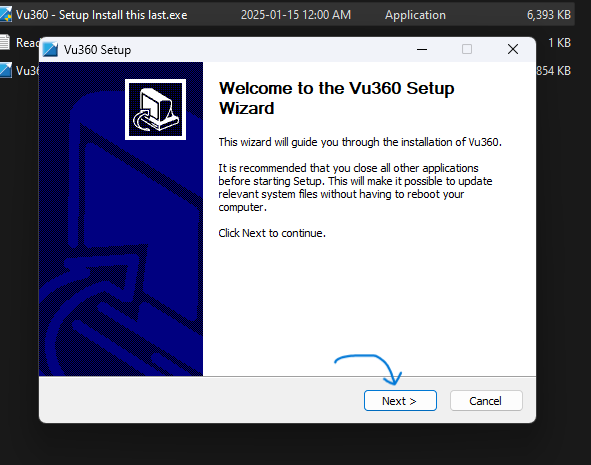
Then go back to the extracted zip file and double click on the .exe file that says “Install this last”. You will be greeted by this screen.

Click “I agree” if you agree.
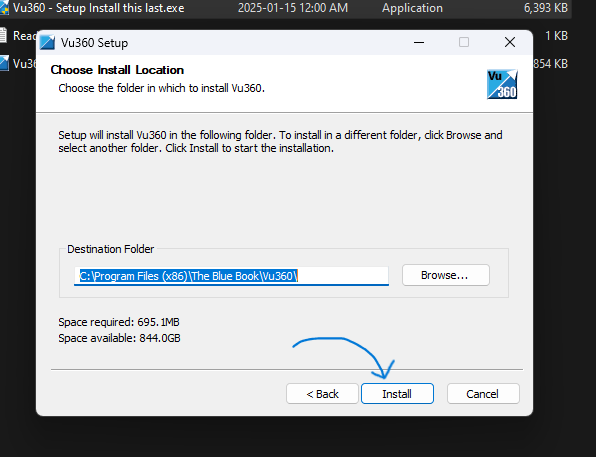
Next click “Install” to install Vu360
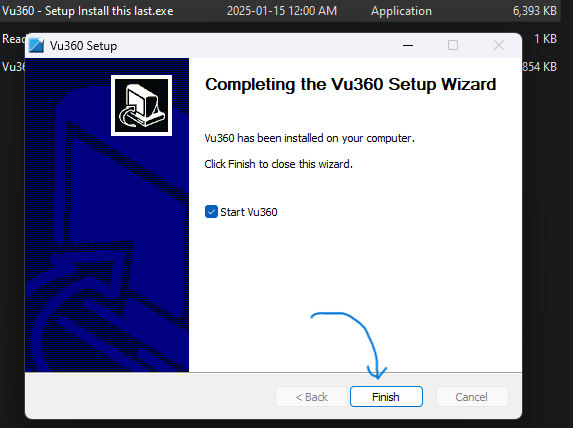
Now you are finished! Click “Finish”
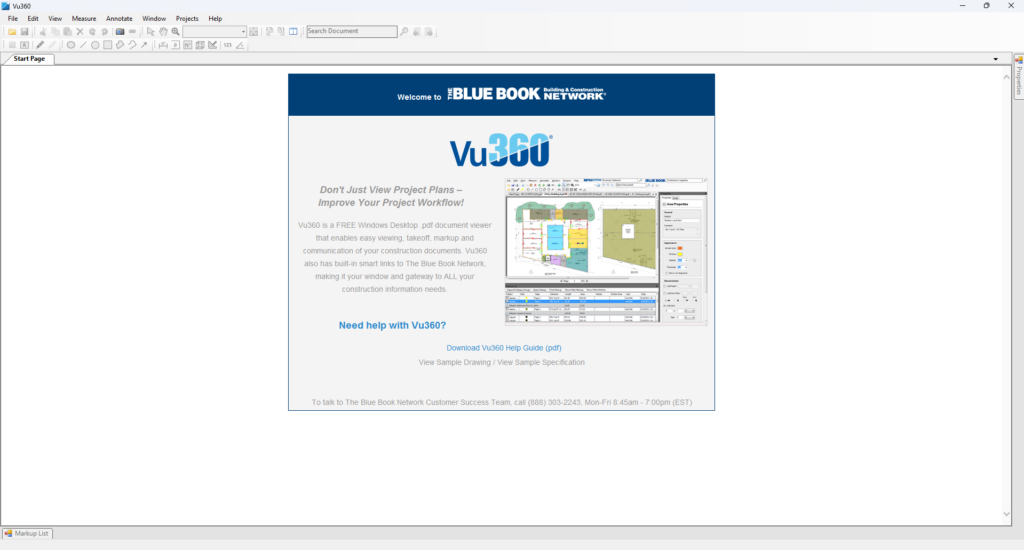
This is what Vu360 looks like upon first opening it.
If your computer does not prompt you to download .NET framework 3.5.
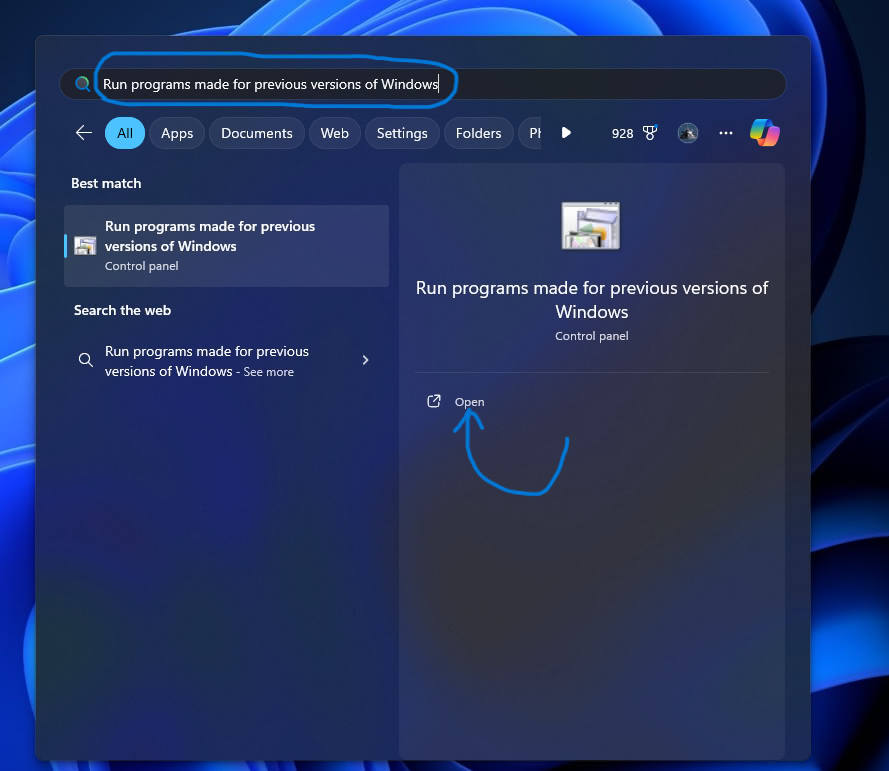
Search “Run programs made for previous versions of Windows” in the start menu and click “Open”.

Windows Compatibility will open. You can continue by clicking “Next” and the troubleshooter will guide you through downloading the required files.
And that’s it for this tutorial! I hope this was helpful. I know Windows can be a little frustrating at times but with a little work you can make stuff function.
Leave a Reply