Running macOS in a VM isn’t exactly a flawless experience—but it can be surprisingly usable once it’s set up right. It’s not buttery smooth, and you won’t be editing video or doing heavy dev work, but for testing, exploring, or getting around Apple’s hardware requirements, it gets the job done.
As someone who primarily works in Linux, I’ve often felt boxed out by Apple’s ecosystem. Simple things—like testing an app in Safari or building something with Xcode—require a Mac. And if you’ve read my other post, https://joshreimer.ca/skipping-the-app-stores-why-i-choose-web-apps-and-direct-downloads-instead/, you’ll know this isn’t just a mild inconvenience—it’s a real blocker.
That’s what led me to set up macOS on my linux machine using QEMU. It took some trial and error, but I eventually got a VM running that lets me do what I need—without buying into the Apple ecosystem. In this post, I’ll walk through what worked for me, what didn’t, and why this kind of setup, while imperfect, can be a real lifeline for devs like us.
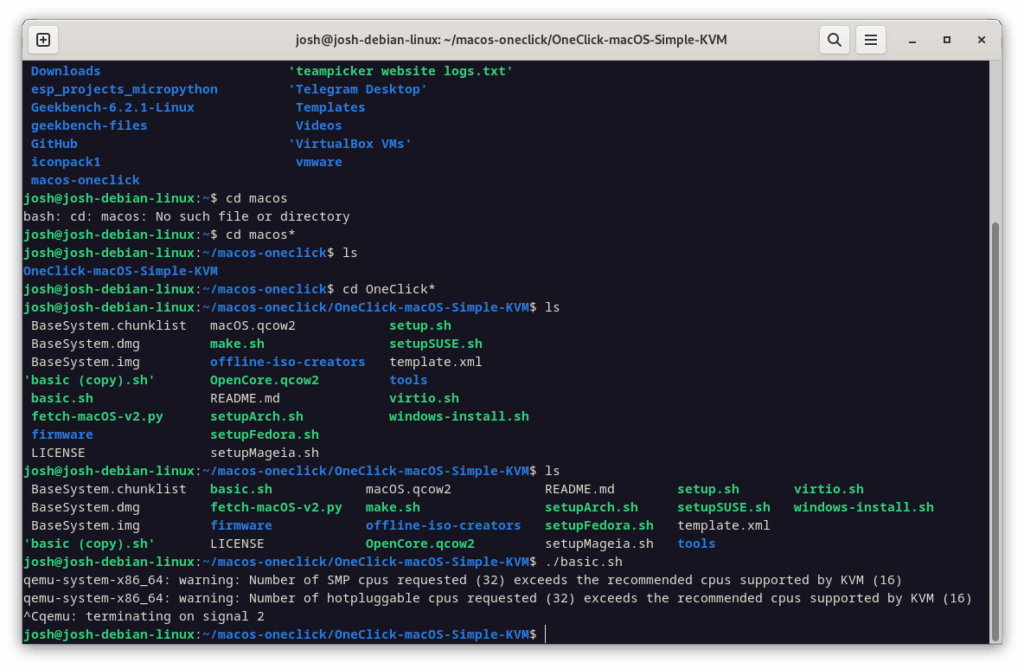
This wasn’t my first attempt, either. I’ve tried getting macOS running in a VM a few times before. I once attempted it on Ubuntu using VirtualBox, and another time using Proxmox with OpenCore (https://klabsdev.com/definitive-guide-to-running-macos-in-proxmox). I tried following multiple tutorials on this but never quite managed to find something foolproof enough for me or that even worked. I hit dead ends—either with boot loops, kernel panics, or reasons I still don’t know. My “aha” moment was when I thought to search for “oneclick macos vm” in a simple google search. That was when I discovered https://github.com/notAperson535/OneClick-macOS-Simple-KVM (simply love that username!). QEMU on Debian linux is the first time I’ve gotten something that actually works well enough to play around with.
I am not going to write an entire guide on this, as there are thousands already out there. But I will share some of the challenges and roadblocks I faced, just in case you happen to come across them too.
The installation guide I followed was this one: https://oneclick-macos-simple-kvm.notaperson535.is-a.dev. When you get to this page select the onclick method. I am not that proficient at linux despite having used as my main OS for quite some time now; so I used the one click method to avoid making mistakes. It’s not really a “one click” though. After cloning the git repository, you’ll need to navigate to https://oneclick-macos-simple-kvm.notaperson535.is-a.dev/docs/category/setting-up-the-host-machine to install macOS. Thankfully it is quite straight forward although a bit clunky.
Increasing RAM and CPU cores
One minor roadblock I hit was how to increase the amount of RAM allocated to the macOS vm. My pc has 16 GB of RAM and 10 CPU cores. Just having a web browser open does not use all these resources and the macOS vm was kinda slow. Increasing the RAM isn’t a strictly necessary step as it already is allocated 4 GB by default. It will run on that, but if you have available RAM, you should use it. Same thing with CPU cores. So basically I made a stupid mistake; on this page where it says “-m 4G \” , I assumed that was a parameter for ./basic.sh. It’s actually a variable inside the basic.sh file.
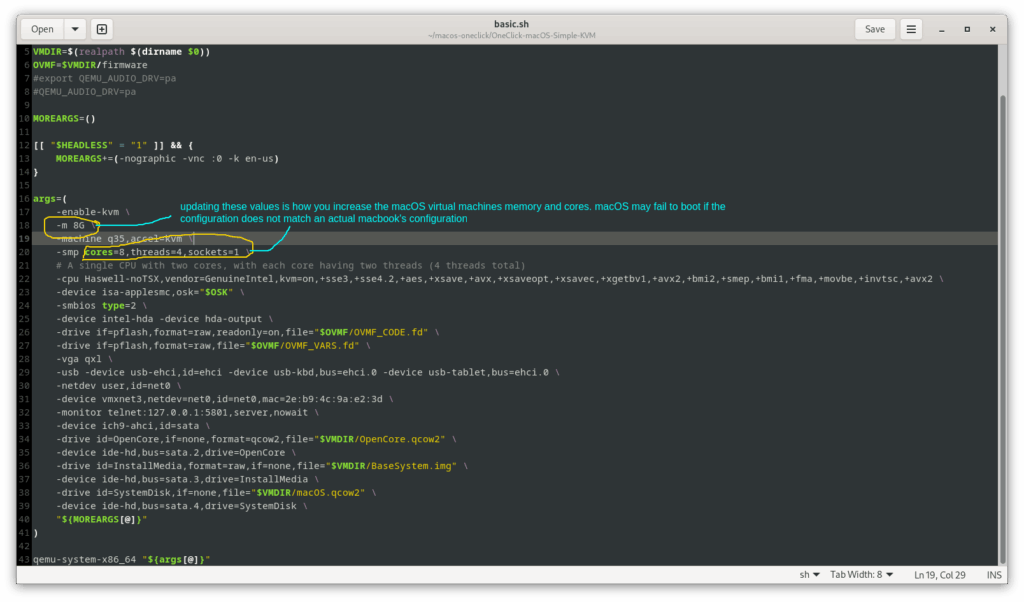
I would recommend making a backup copy of basic.sh so you can always go back to a configuration that works. Some configurations won’t work because macOS expects there to be certain amounts of RAM and CPU cores.
#!/usr/bin/env bash


OSK="ourhardworkbythesewordsguardedpleasedontsteal(c)AppleComputerInc"
VMDIR=$(realpath $(dirname $0))
OVMF=$VMDIR/firmware
#export QEMU_AUDIO_DRV=pa
#QEMU_AUDIO_DRV=pa

MOREARGS=()

[[ "$HEADLESS" = "1" ]] && {
    MOREARGS+=(-nographic -vnc :0 -k en-us)
}

args=(
    -enable-kvm \
    -m 8G \
    -machine q35,accel=kvm \
    -smp cores=8,threads=4,sockets=1 \
    # A single CPU with two cores, with each core having two threads (4 threads total)
    -cpu Haswell-noTSX,vendor=GenuineIntel,kvm=on,+sse3,+sse4.2,+aes,+xsave,+avx,+xsaveopt,+xsavec,+xgetbv1,+avx2,+bmi2,+smep,+bmi1,+fma,+movbe,+invtsc,+avx2 \
    -device isa-applesmc,osk="$OSK" \
    -smbios type=2 \
    -device intel-hda -device hda-output \
    -drive if=pflash,format=raw,readonly=on,file="$OVMF/OVMF_CODE.fd" \
    -drive if=pflash,format=raw,file="$OVMF/OVMF_VARS.fd" \
    -vga qxl \
    -usb -device usb-ehci,id=ehci -device usb-kbd,bus=ehci.0 -device usb-tablet,bus=ehci.0 \
    -netdev user,id=net0 \
    -device vmxnet3,netdev=net0,id=net0,mac=2e:b9:4c:9a:e2:3d \
    -monitor telnet:127.0.0.1:5801,server,nowait \
    -device ich9-ahci,id=sata \
    -drive id=OpenCore,if=none,format=qcow2,file="$VMDIR/OpenCore.qcow2" \
    -device ide-hd,bus=sata.2,drive=OpenCore \
    -drive id=InstallMedia,format=raw,if=none,file="$VMDIR/BaseSystem.img" \
    -device ide-hd,bus=sata.3,drive=InstallMedia \
    -drive id=SystemDisk,if=none,file="$VMDIR/macOS.qcow2" \
    -device ide-hd,bus=sata.4,drive=SystemDisk \
    "${MOREARGS[@]}"
)

qemu-system-x86_64 "${args[@]}"
QEMU not going into fullscreen mode
I noticed when booting macOS that the QEMU gui window did not have a maximize button like normal. Turns out you just need to hit Ctrl-Alt-+. You can reference more keyboard shortcuts here.
Screenshots
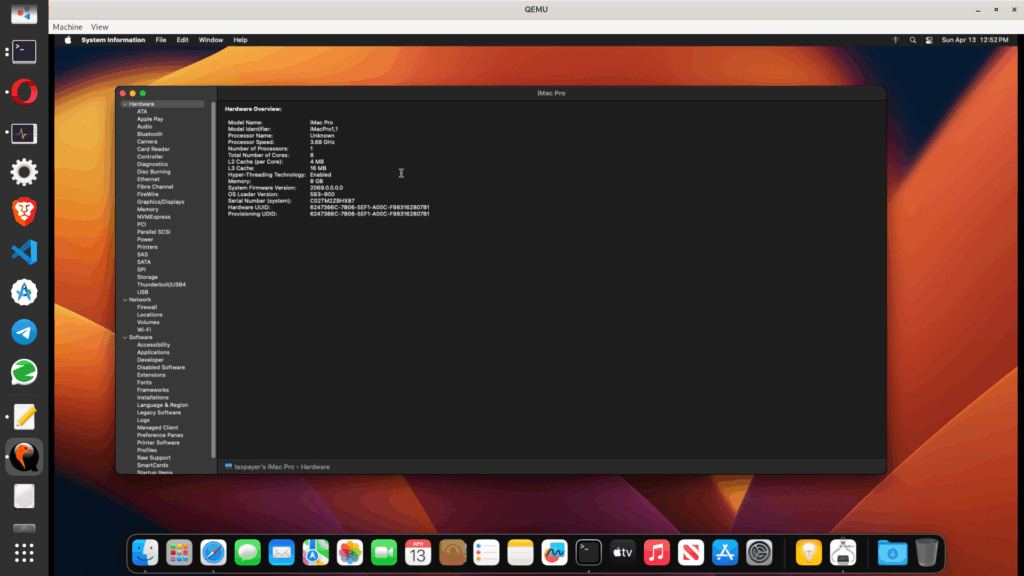
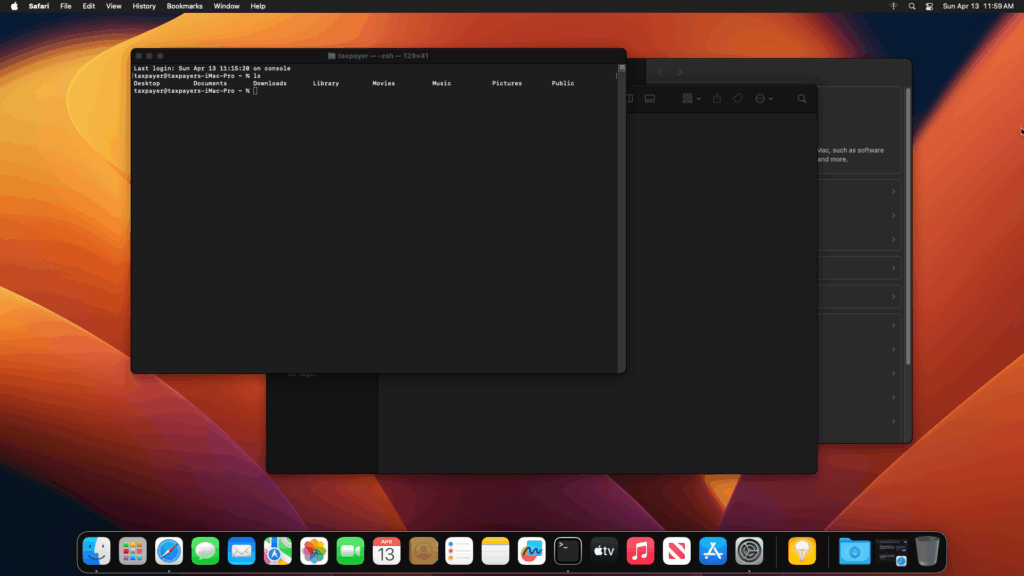
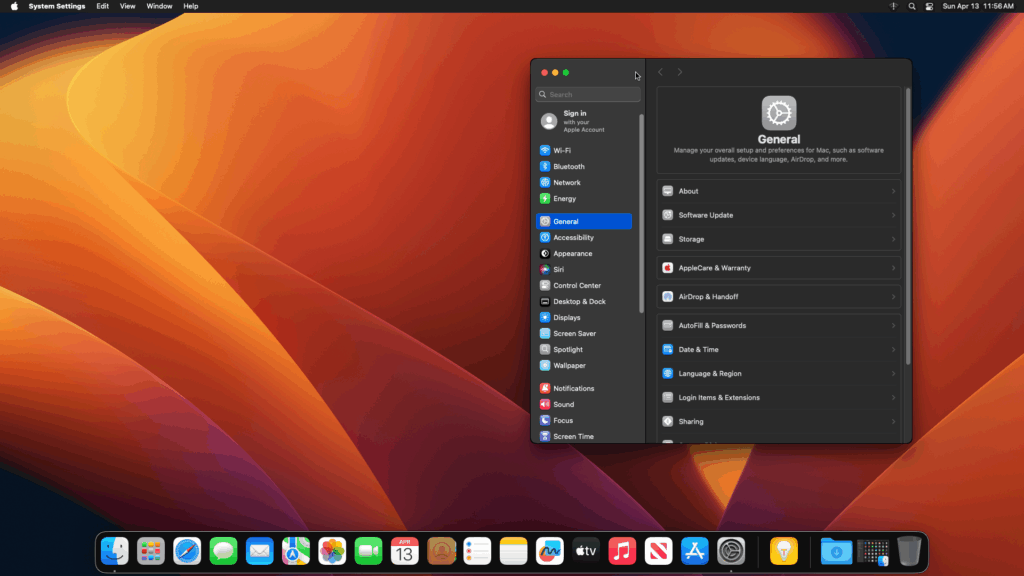
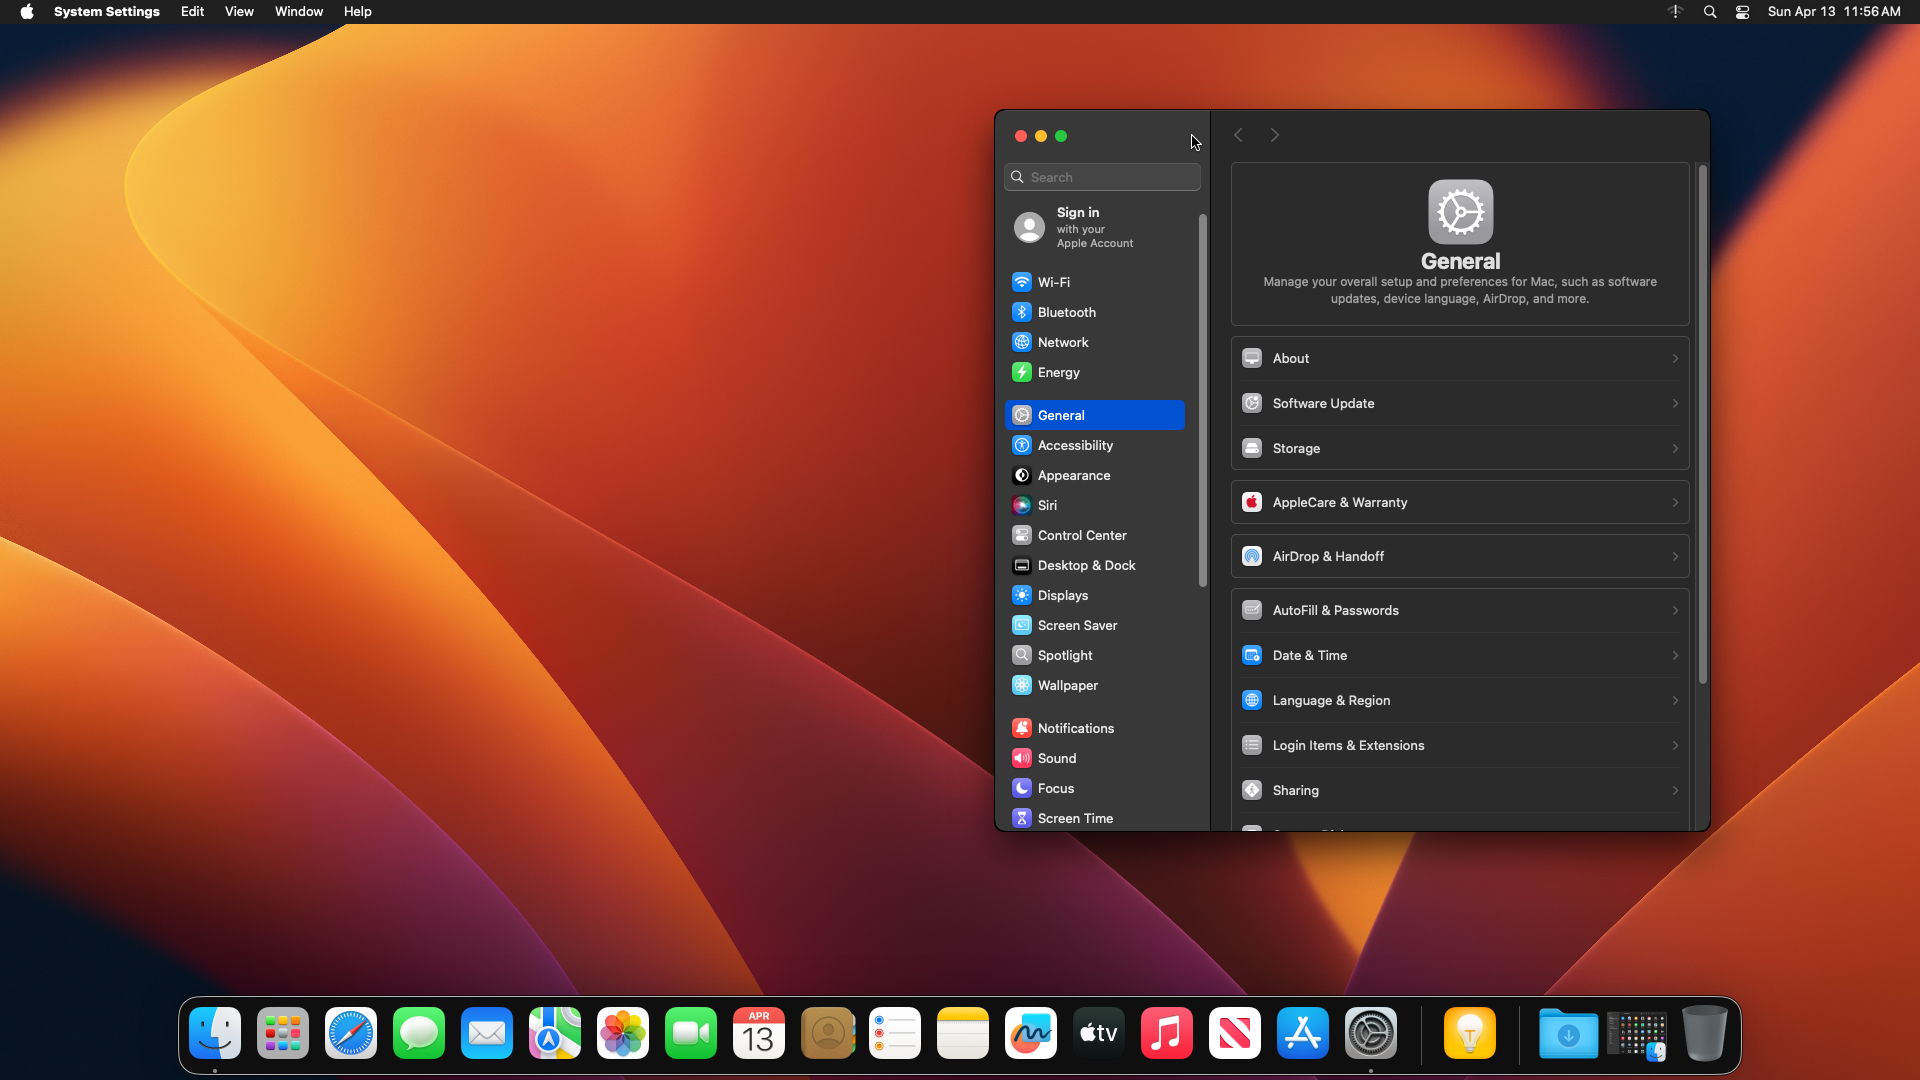
So that’s where it’s at now. I haven’t got Apple ID to work so I guess no App Store. I can still play around with macOS terminal and testing apps in Safari. I must admit, I’ve found an appreciation of macOS’s aesthetics. It seems quite nice and I like how the terminal is not that much different from an actual linux terminal. It’s still not any simpler than Windows.
Leave a Reply